1) Download
- Download the Enhancing Export plugin from community plugins tab.
2) Set “Default Folder for Exported File”
- In Obsidian: Settings → community plugins → Export Settings
- Set the folder you want your exported PDF’s to go:

3) Moving the Templates
- Move the templates
frontmatter-Template.mdanduni.latexto the folders you defined in this section: Folders
4) Add custom Template
Go to Export Settings in Obsidian, and under Edit Command Template, ”+” to add new Template(choose PDF), name it what u want, and proceed with the steps below.
5) Set Arguments
Copy the following and paste it in the Export Settings Arguments section, we will edit it in a second:
-f ${fromFormat} --resource-path="${currentDir}" --resource-path="${attachmentFolderPath}" --resource-path="PATH/TO/PICTURE/FOLDER/" --resource-path="${pluginDir}/textemplate" --pdf-engine=lualatex --listings -o "${outputPath}" -t pdf6) Set Extra Arguments
One field below, you paste:
--template="PATH\TO\TEMPLATE.latex" The Extra-Arguments field is also where you later will be switching your template, just rename it accordingly. I know in the Enhanced Export plugin you can change and add Export-Templates, but since it bugged out one time and i had to reinstall and reconfigure the plugin, so I just stuck to renaming it manually. You can test it out yourself.
7) Setting your paths
Then we have to change the following two “PATH/TO/” to match your vault folder layout from your definedFolders (Picture path ends with a folder, template path points to your template directly!)
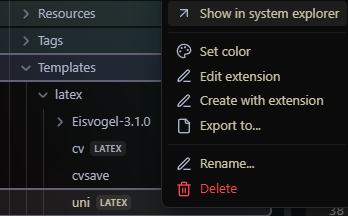
to set the folders correctly, just right-click on the template in your vault, click Show in system explorer:
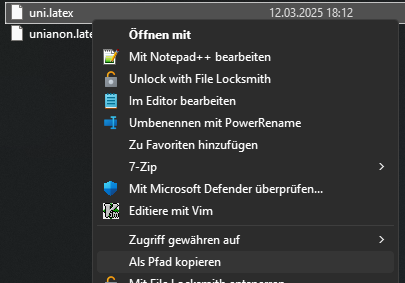
right-click the template in your Windows explorer, copy as path
Continue with: 4) Customizing the Templates